First, preliminary planning
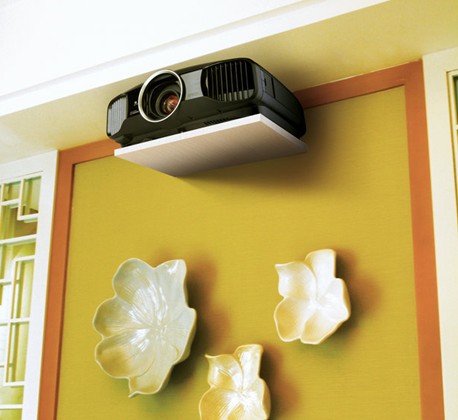
1. Determine the installation position of the projector
First, we can determine the projection distance based on the installation position of the projection screen, and then find the most suitable position for installing the projector hanger in the room ( how to calculate the projection distance can be found in the Digital Home, January 2012 issue ) . Next, it is necessary to examine the building structure, verify the structural integrity of the projector and the support that will be used to support the projector, and ensure the firmness of the projector after lifting. After this part is completed, we can carry out the next work. In this part of the planning, you can refer to the following principles: the larger the lens zoom, the better, because the shorter the light transmission distance, the closer the lens is to the screen, so the light loss is less. In addition, it is necessary to properly consider the installation margin and leave appropriate space for the projector's heat dissipation. For example, if the projector heat dissipation port is behind the fuselage, it must be ensured that after installing the projector, there is a space between the rear of the fuselage and the wall. A certain amount of cooling space.
2. Determine the cable layout
In this part, we first need to consider the direction of the embedded HDMI cable. Since the transmission distance will inevitably cause the signal of the projector to attenuate, we need to shorten this distance. If it is unavoidable, it needs to be considered as the signal source in advance. Install a signal amplifier to ensure the projected effect of the projector. In addition, when laying the projector power supply wire, you need to pay attention to arrange a separate power socket next to the projector hanger, and design a separate switch on the lower wall to control the power of the projector later. Another problem to be aware of is the laying of electrical circuits. Since this part of the electrical circuit contains both AC power supply lines ( strong power ) and HDMI transmission lines ( weak power ) , the level of the two is very different, so to avoid interference. And to prevent the insulation of the wire from aging and accidents, the two must be piped separately and kept at a certain distance. In this regard, ordinary decoration companies and renovation workers may be selectively ignored under the premise of cost savings.
Second, select and install the projector hanger
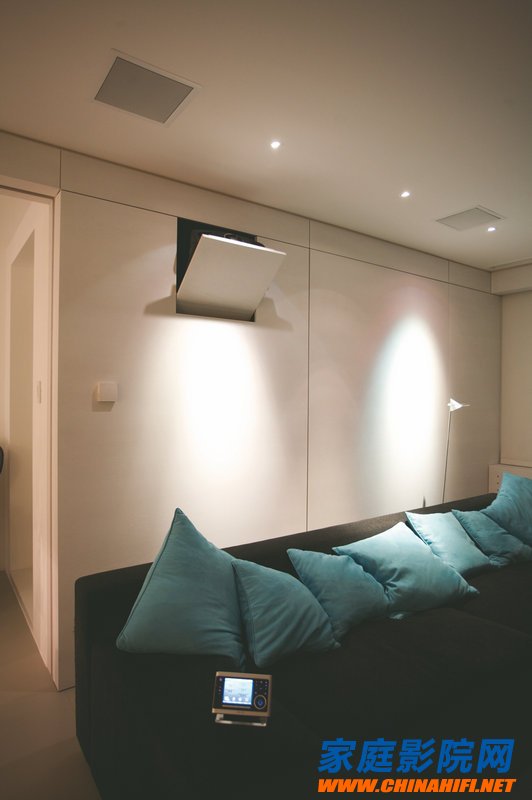
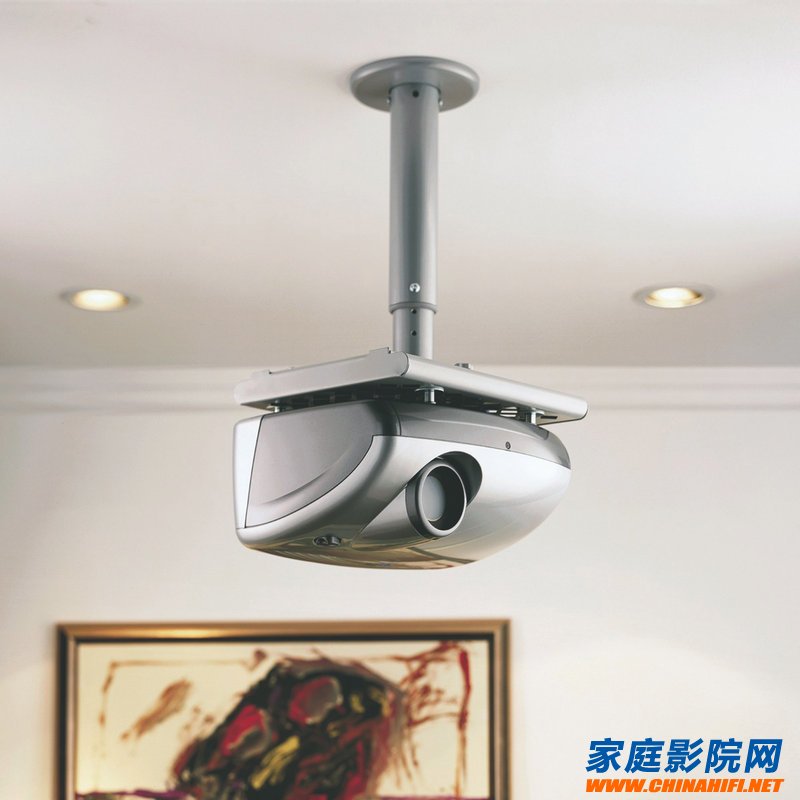
1. Select projector hanger
There are many types of projector hangers, such as cross-cut electric hangers, box-type electric hangers, arm-type lifting hangers, arm-type fixed hangers, etc., for the sake of cost, most users The universal hanger is chosen. If you are pursuing a higher quality, you can consider using an electric hanger so that the projector can be lowered during projection. After the movie is finished, the projector will be retracted, so that the space remains the same as the original decoration. The appearance of the destruction of the overall decoration style. However, due to the relatively high cost of such electric lifting pylons and the more complicated installation process, it is necessary to make a force when selecting. In addition, it should be noted that although the projector hanger is not eye-catching, in order to ensure the safe use of the projector after installation, the hanger must be a safety-certified and insured product, and the steel used should be straight. No significant distortion, no curling or burr at the incision, and the steel should also have a certain thickness to ensure the firmness.
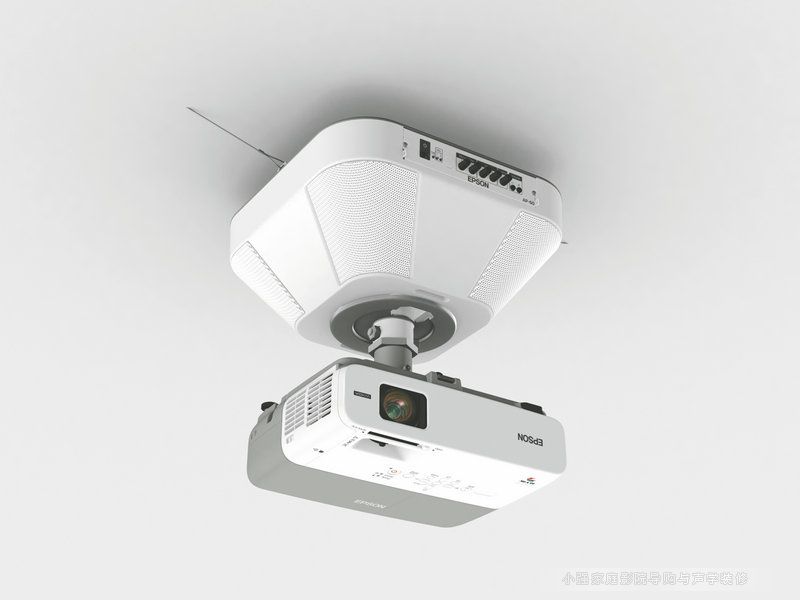
2. Installation of projector hanger
In this part of the work, you first need to find the installation center point at the starting installation location, then open the hole in the ceiling ceiling to ensure that the hanger and wire can pass through, then ensure that the projector and hanger can be secured The ground is installed on the ceiling. Some confirmation is required before the final step is completed, otherwise the user will need to make some adjustments to the hanger until it meets the requirements. First of all, we want to ensure that the lens of the projector is on the same vertical line as the center point of the screen. This can be determined by the auxiliary line before installing the hanger. Next, we need to determine the center position of the hanger and the projector. The center of the lens must be coincident. This can be done with the plumb before the hanger is installed. In addition, we need to ensure that the lens of the projector and the upper edge of the screen are at the same horizontal height. Only by ensuring the above points can we ensure that The projected light is perpendicular to the curtain, and there is no horizontal trapezoidal distortion to avoid frequent shifts and corrections that need to be made later. There are also some precautions, such as the projector hanger must be firmly connected to the ceiling, the use of matching screws and bolts; hanger
Keep away from heat sources, avoid water, and protect against moisture. At the same time, factors such as convenient future maintenance should be considered before the installation planning.Third, the debugging part
Most of the hoisting projectors have ended, but that doesn't mean we can use the projector right away.
To the excellent picture, we need to carry out further debugging to ensure the best picture. First of all, we need to adjust the display mode of the screen, the user can find the "mirror" option in the projector's OSD menu, so that the upper and lower display of the screen meets the viewing standard. 
Next, we can project the image onto the screen and adjust the lens of the projector to focus, so that the projected image fills the entire screen as much as possible. If the user notices all the details we mentioned earlier, then the projected image should be a regular rectangle. If not, then you need to use the trapezoidal correction function to correct, or adjust the installation position of the hanger. In general, the most ideal state is to see the projected regular rectangle without any correction to the shape of the picture.
Fourth, daily maintenance
The project to hoist the projector has been completed, but this is not a once-in-a-lifetime. We also need to pay attention to daily maintenance work, otherwise the life of the projector will be greatly affected. The first is to ensure the cleaning of the projector lens, which directly affects the clarity of the projected image. When various circles or spots appear on the screen, it means that the projector lens needs to be cleaned. When cleaning, apply Professional lens paper or other professional cleaners.
In addition, there is a certain knowledge about the opening and closing of the projector. Directly turning off the power after the projector is used will seriously affect the service life of the lamp. Therefore, when the projector is turned off, it must wait for the internal cooling fan of the projector to stop completely, the signal light stops blinking, and then turn off. The projector turns off the power. It is worth paying attention to not to open and shut down frequently in a short period of time. There must be a certain time interval before each operation, otherwise it may cause damage to the internal electrical components of the projector.
Solar LED land lamp uses sunlight as the energy source, charges during the day and uses at night, does not need complex and expensive pipeline laying, can arbitrarily adjust the layout of lamps and lanterns, safe and energy-saving, pollution-free, stable and reliable without manual operation, saving electricity and maintenance. Solar LED street lamp is mainly composed of solar cell module (including bracket), LED lamp holder, control box (with controller, battery) and lamp pole.
Solar Led Street Light,Street Light Lamp,Solar Powered Street Lights,Solar Powered Led Street Lights
Yangzhou Heli Photoelectric Co., Ltd. , https://www.heli-eee.com